Getting started
Getting started with Project Board in Microsoft Teams
The timeghost Project Board is project management software built directly into Microsoft Teams. You organize projects, tasks and teamwork in one place. This page takes you from adding the app to your first task.
Requirements
- A Microsoft 365 account of your organization (Microsoft Entra ID) for signing in
- Microsoft Teams or a browser
Add Project Board
- Add the Project Board from the Microsoft Teams Store or open app.project-board.timeghost-solutions.com in your browser.
- Sign in via single sign-on with your Microsoft 365 account. No extra password needed.
- Pin the Project Board to the Microsoft Teams sidebar. That way you can reach it at any time, including from meetings, chats and channels.
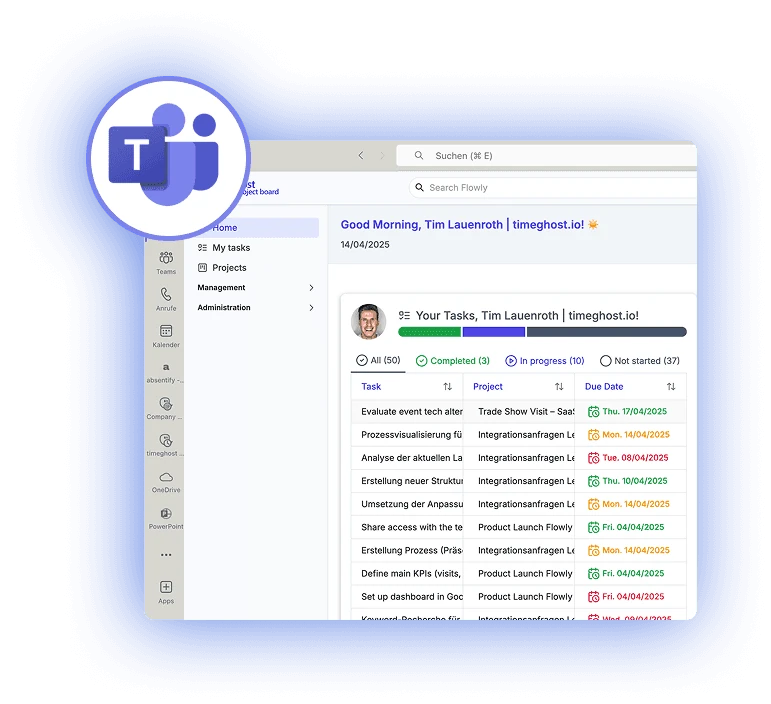
The sidebar at a glance
The navigation is on the left. Which entries you see depends on your role in the workspace.
- Home: your start page with focus tasks, projects, comments and activities
- Tasks: all tasks from your projects in one list
- Projects: the project list. Below it, Recently viewed shows the projects you opened last.
- Management (for administrators and managers): Templates, Archive and Trash
- Administration (for administrators): workspace Settings, Team and Subscription
At the top you search the whole workspace, and the bell shows your notifications. Your profile picture in the top right opens your personal settings. Your workspace and its current plan are shown at the bottom of the sidebar.
Create your first project
- Open Projects and click New project. Alternatively, use the New Project quick action on Home.
- Pick a Template if you like. The title is then prefilled with the template name.
- Enter a Title and click Create.
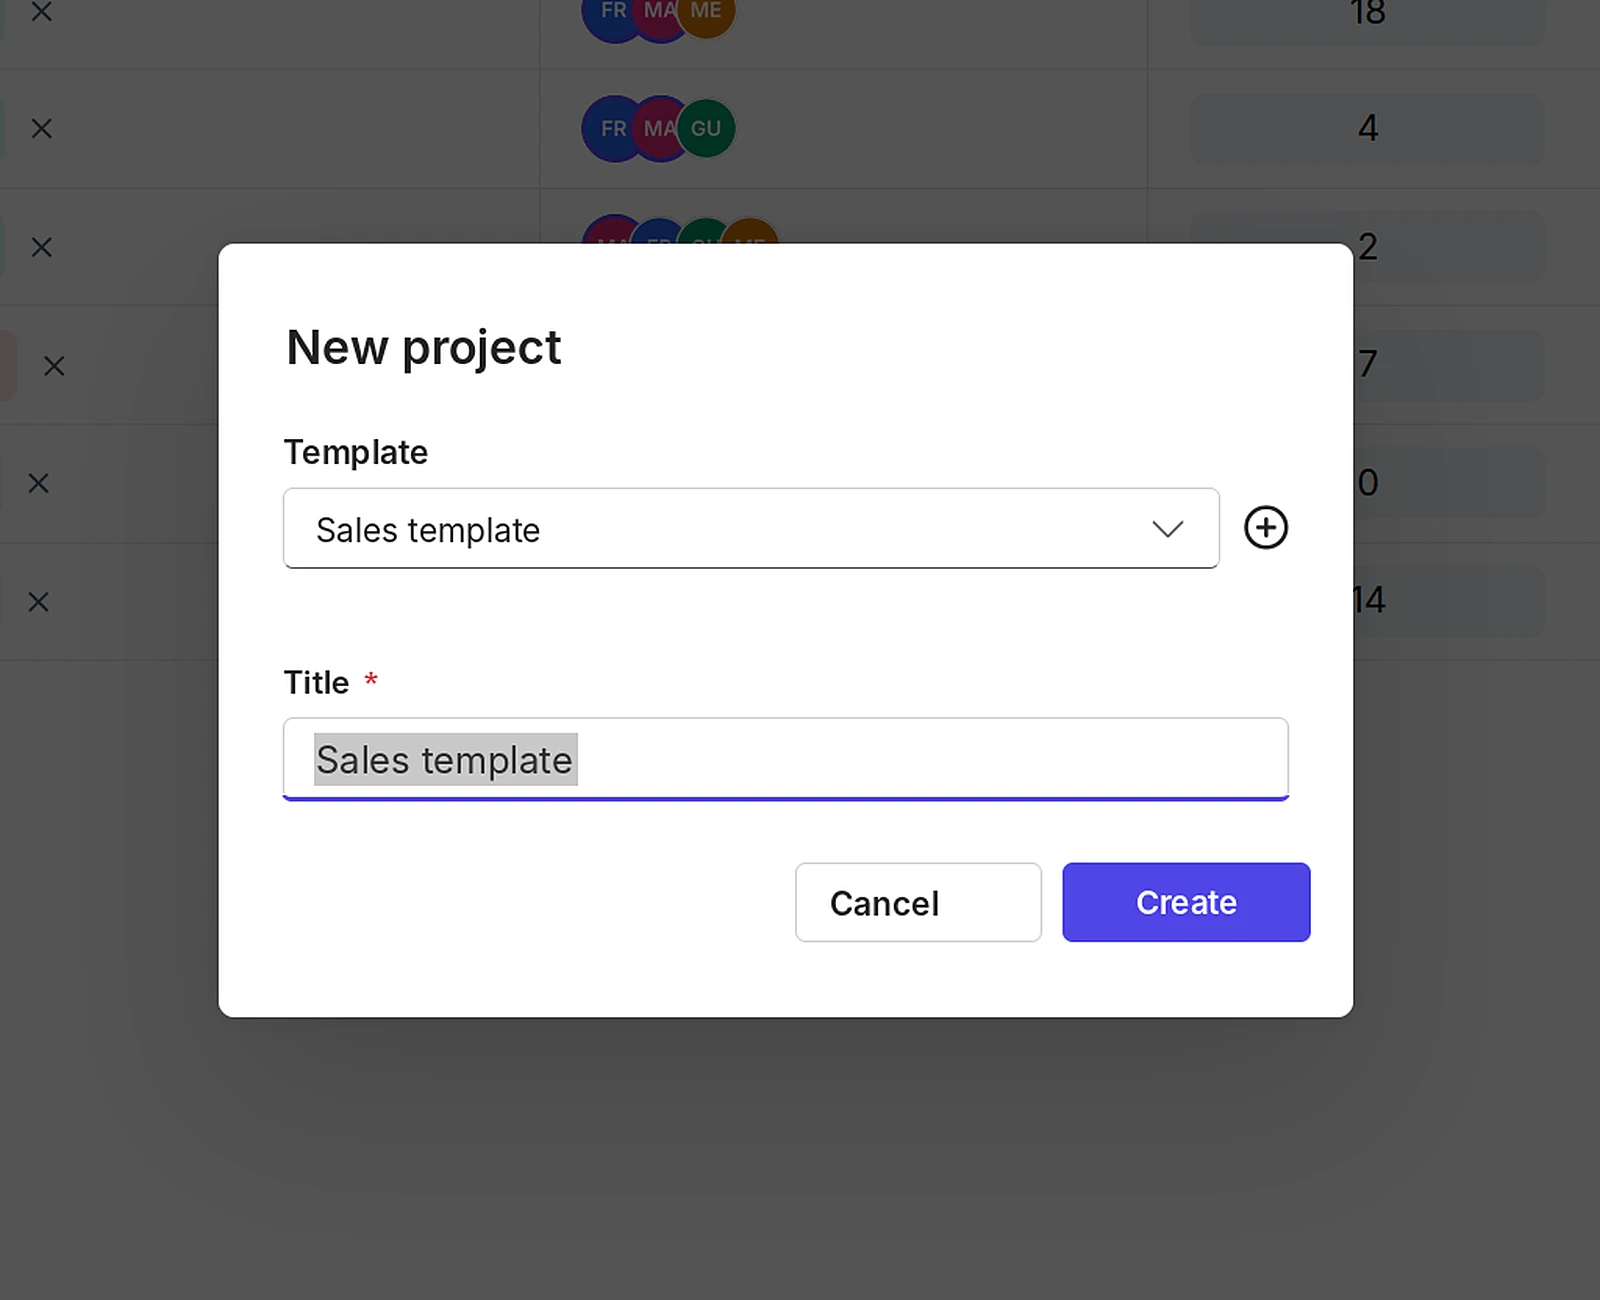
When you create the very first project in an empty workspace, the Project Board also asks how you want to organize tasks: with status columns (Not started, In progress, Done) or with custom sections. You can change this later in the workspace settings.
Learn more in Projects, members and roles.
Create your first task
- Open the project. You land in the List, Board or Calendar view.
- Click New task in the top left, or + New task below a column on the board.
- Enter a title. Click the task to open its details and add assignees, dates, labels and a description.
Everything you can set in a task is described in Tasks, subtasks and comments.
Invite your team
Administrators and managers see a checklist with the first steps on Home: create your first project, add your first task and invite a user. If you prefer to explore first, you can load demo data there.
You add colleagues to a project via the members in the top right of the project. Administrators manage all users of the workspace under Team.
Notifications in Teams and by email
New assignments, mentions and comments reach you in the app, by email and in Microsoft Teams. You decide which channels to use for which notification. Learn more in Home, search and notifications.
Mobile use
The Project Board runs in the Microsoft Teams app, so you can also use it on iOS and Android devices.
Start for free
The Free plan includes unlimited projects and team members and up to 50 tasks per project. As your team grows, you can switch to Basic or Premium. Administrators can start a 30-day Premium trial from the sidebar. All plans and prices are listed in the pricing overview.
Next steps
- Home, search and notifications: keep track of everything
- Projects, members and roles: set up projects and control access
- List, board and calendar: choose the right view for your work